How to Take a Screenshot on a Mac
Do you want to take a screenshot on your Mac but wonder exactly how to do it? Well, taking a screenshot or screen capture on a Mac is far easier than on a Windows PC. You can stop asking yourself the all-too-common question, “How do you take a screenshot on a Mac?”
Getting started is easy. You can capture the entire screen image or just a selected portion of it. Upon taking the screenshot, the image will automatically be saved on the desktop.
Here are some of the best ways of taking a screenshot on your Mac OS or Mac OS X:
Taking a Screenshot of the Whole Screen
- First ensure your screen displays what you would want to capture in your screenshot image
- Hold down the Comand button (commonly known as the “Apple Key”) and the shift button then press 3
- The screenshot will appear on your desktop as .png file
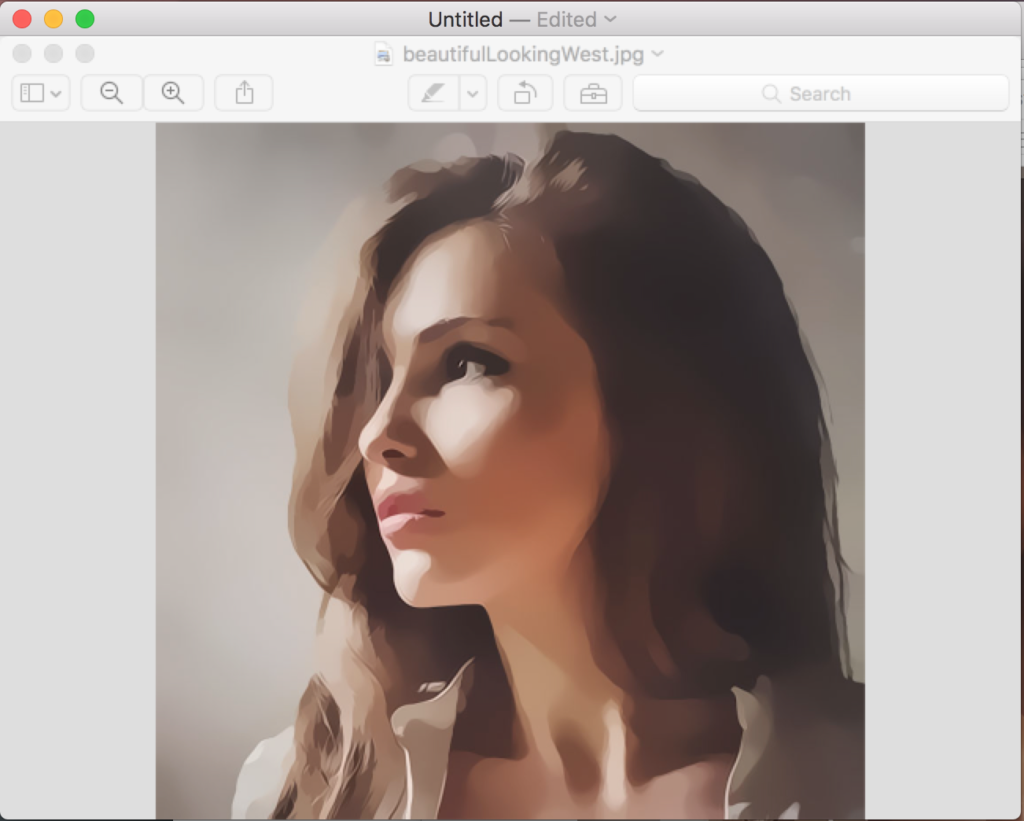
The resulting .png image filename will begin with ‘screenshot’ followed by the date and time in the following format: ‘Screenshot [Year] – [Month] – [day] – [time]’. If you would want the screen shot to appear in JPG or other format, you can drag the .png file into Preview, Photoshop or any other relevant viewing program and then click on ‘Save As’ with the different file type extension.
Taking a Screenshot of a Portion of Your Mac Screen
- Press the Command + Shift button then press 4 (the cursor will turn into a small crosshair reticle)
- Click and drag the crosshairs to highlight the area you would want to screen shot. You should see a grayed rectangle on the area you highlight. In case want to cancel or adjust your window, press Esc (Escape) to return to regular cursor before starting afresh.
- Find the screenshot on the desktop saved as a .png file
How to Take a Screenshot of Mac Window
- Press the Command +Shift and then press 4
- When the crosshairs appear, hit the Space bar and the pointer will turn into a small camera
- Position the camera over the window and it will be highlighted in blue as you move the cursor
- Click on the window and the picture of the part you selected will automatically be saved on the desktop
Taking Screenshots of a Menu
- First click the menu to show its contents
- Hold down the Command + Shift and then press 4. The pointer will change to a crosshair.
- Drag the crosshairs to select the menu
- Release the mouse or trackpad button and the screenshot will be saved on the desktop

How to Take Timed Screenshots on Mac
Majority of the options discussed above can only capture the outcome of what you can see on your screen. If you would want to enjoy a more advanced way of taking screenshots, you can check out the Grab Application which can be found in Utilities under the Applications folder.
For you to get started, you need to first click on the Grab Application, launch it and then click Capture in the top menu. You will see the usual screen capture options including a small selection, an entire screen or a window, each with a shortcut that can allow you easier access in the future. The menu will also include an option of timed screenshots (go to Timed Screen) which allows you to set up a capture and activate the image or page you want to capture. This option comes with a 10 seconds timer.
That’s a Wrap…
You can try all these options and identify one that can capture the image or window exactly how you want it. These screenshot taking options can apply to all versions of Mac including Mac OS and Mac OS X.


